 |
| Poly 3! |
Hey everybody I'm back with another blog post, this time about geometric portraits ( A.K.A low poly
portraits! ) For our low poly portraits our faces have to have expression, and in class we were thinking are facial expressions universal? Honestly I some are universal and others not so much. Like the smile, you can always tell someone is happy when their eyes squint, their dimples appear, and their smiling from ear to ear. Same with common emotions like sad, tears rolling down the face, eyes red and their breathing heavily, mad eyes wide open, teeth gritting and eyebrows close together. Yet more complex emotions like confusion, embarrassed, and annoyed are not as universal as the common emotions because there are many different ways to express them. One country may identify disgust different from how other countries identify it because on their own experiences. So in conclusion I think common expressions are universal but complex emotions are not.
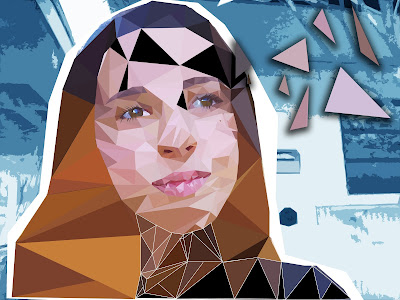
Ok at the beginning I mentioned the low poly portraits but never explained them. If you look at the pictures in this post you can see what low poly portraits actually look like. ( I made these ones! ) Your probably wondering how can I make them? I'll show you. First off: Take a picture of your face, make sure your face fills most of the camera space. Next: Upload it to photoshop, Make another layer called background and paint it white. Then use the line tool and outline only the left side of your face. Since you took your picture symetrical we can just use the left side of the face for the right side aswell. After Outlining your face it's time to fill your face with triangles! To help, click view > show > then click grid. Make sure when you are making your triangles they start on a line from the grid and end on a line from the grid. After you finish your triangles click on the first one, hold shift, go to the last line, right click and press "merge layers" ( This will make all your lines into one huge layer. ) When your done with that now you'll color your triangles! Click on your portrait layer and press command J to copy it. Rename your copy "Low Poly." Use the Polygon Lasso tool by Outlining your trianlge ( Clicking at each point ) and click filter, blur, then average. Then repeat the process until all of your triangles are colored. ( Yet instead of clicking filter, blur, average. Just do command F. ) Next use the Polygon Lasso tool to outline your face ( Just how we did in the beggining.) Then Click command J and name it "Right" for this is going to be the right side of your face. Just use the move tool and flip the picture, make sure it goes to your ear and there's no space between your two halves. After, double click on your outline and use a color overlay to turn it white. After that you're done!
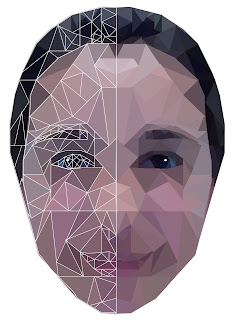 |
| Poly 1 |
There are many differences between Poly 1 and Poly 2. For example in Poly 1 we had to make an outline and then fill out the triangles the same way I told you how in the previous paragraph. In Poly 1 we also made our picture symmetrical so we could take half of our face and use it for the other side. With Poly 2 we didn't use an outline and we colored the triangles a different way. Instead of using Command F we used the eyedropper, selected the color and clicked Alt + Delete. We also kept the background and colored it.
See you guys next week! 🎸😝 Rock on! ➠ 🅚🅰🅘🅛🅔
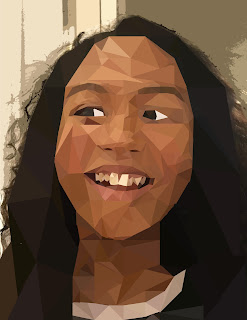 |
| Poly 2 |
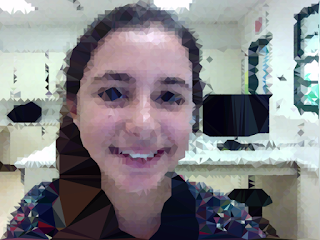 |
| Easy way |


No comments:
Post a Comment